


Finally here with this week's video. YouTube was slower than molassess to upload to today. It took over an hour and a half! It turned out nice though...lol.
SO this video is showing you on the computer how to turn your photos and images into Pyramage (also known as pyramid or stackers.) So open your favouite graphics program and follow along!
Here is what I made. I made a mini album page of my daughter, Aurora. One day I hope to finish the book with more of her photos.

 After the video, I have posted the keyboard shortcuts I used in making this in Photoshop so you can make note of them. Then I list the items I used in making the mini album page.
SO this video is showing you on the computer how to turn your photos and images into Pyramage (also known as pyramid or stackers.) So open your favouite graphics program and follow along!
Here is what I made. I made a mini album page of my daughter, Aurora. One day I hope to finish the book with more of her photos.
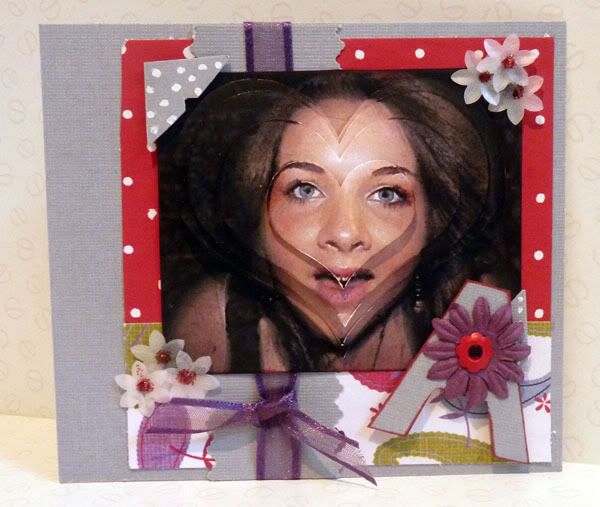
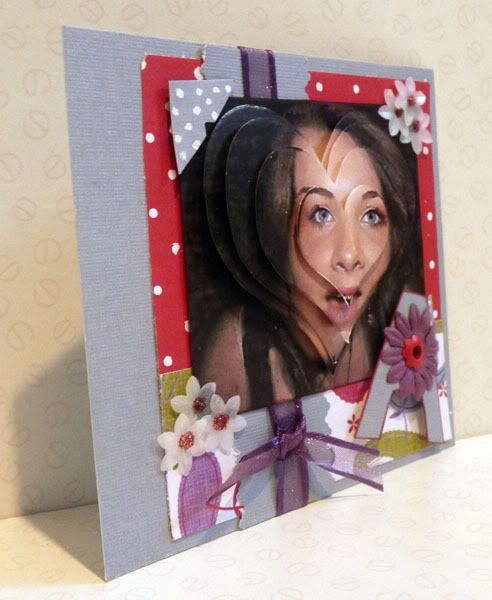 After the video, I have posted the keyboard shortcuts I used in making this in Photoshop so you can make note of them. Then I list the items I used in making the mini album page.
Photoshop Keyboard Shortcuts:
V - Move Tool
Ctrl + A - Select All
M - Marquee Tool
U - Custom Shapes Tool
Ctrl +T - Transform and move
Ctrl + Enter - turn Path into Selection
Alt, Ctrl + Z - Step Backward (Undo)
Supplies used for making Mini Album Page:
DCWV Naturals Cardstock in greyish blue.
Red & white dotted paper from stash
Paisley paper - free gift with a cardmaking magazine
Purple sheer ribbon from Ribbon oasis
Plastic white flowers from stash
Letter A printed out and traced
Prima flower
Papermania flower eyelet
Inksentials white gel pen
V - Move Tool
Ctrl + A - Select All
M - Marquee Tool
U - Custom Shapes Tool
Ctrl +T - Transform and move
Ctrl + Enter - turn Path into Selection
Alt, Ctrl + Z - Step Backward (Undo)
Supplies used for making Mini Album Page:
DCWV Naturals Cardstock in greyish blue.
Red & white dotted paper from stash
Paisley paper - free gift with a cardmaking magazine
Purple sheer ribbon from Ribbon oasis
Plastic white flowers from stash
Letter A printed out and traced
Prima flower
Papermania flower eyelet
Inksentials white gel pen


