


Since I am an avid Hybrid Crafter, my printer has been getting a work out printing designs for Christmas projects. I have a few to work on tonight but I've finished 2 here and wanted to show them to you all. I took a digital scrapbook kit and created a gate fold Christmas card and a treat box with it. Here are my list of supplies I used:
Merry and Bright Kit by Designs by Kat (Scrap Orchard)
Treat Box Template by Krisi's Kreations (newsletter sign-up free gift)
Dark Red cardstock (no name brand)
Dark Red ribbon by Laura Ashley crafts
Ranger Distress Inks in Tattered Rose, Crushed Olive & Old Paper.
Also: Fiskars Paper Trimmer, edging scissors, decoupage scissors, ATC Tape Gun, foam pads and Pinflair Glue.
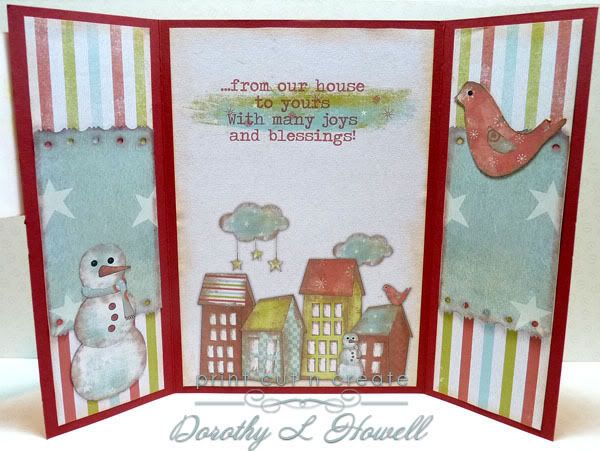
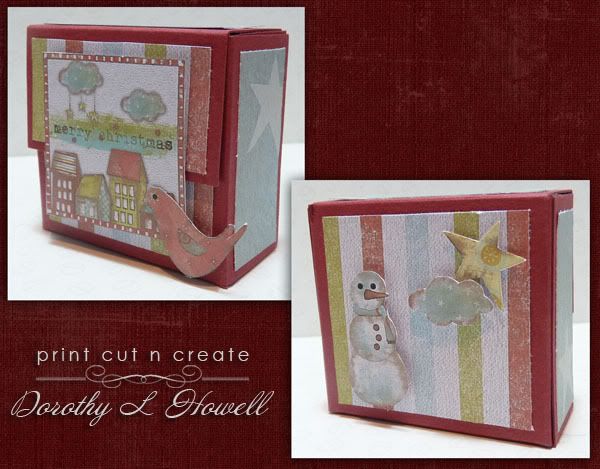
Here are the photos. The first is the card front and box, then the inside of the card and lastly the front and back of the box:
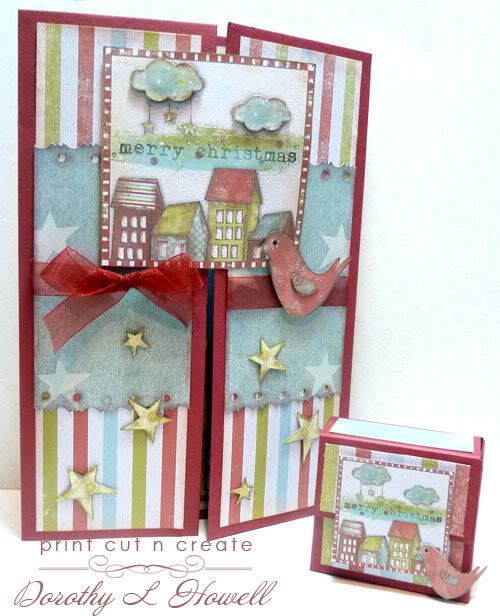
First thing I did was open Photoshop CS3 and create the topper for the front of the card and the large inside panel. I arranged the kit's elements to get the designs. I opened an A4 blank image and put the items I designed on there along with other elements from the kit that I knew I wanted to use. I resized them all smaller to fit on my card which I knew would be A5 in size. I also printed out the papers I wanted. I made sure I had enough for both the box and card.
I cut everything out with decoupage scissors, regular scissors, paper trimmer and edging scissors. I used the ~Distress inks all over the edges of the papers and all the little cut out pieces as well...this kit was really distress in design to it all work perfectly. Then I assembled the card and box, adding 3D elements with foam pads and Pinflair glue, adding the ribbon.
This was so fun to do! I bought this kit and I have a couple more ideas I like to make with it as it's so cute and has so much I didn't use. I hope you enjoyed my hybrid projects.....thanks for having a peek!

Cute card, but unfortunately projects posted prior to our challenge date are not eligible for our contest prizes. Hope to see a future project at DYSU!
ReplyDeleteGreat take on our theme this week and thanks for sharing with us at CRAFT
ReplyDelete